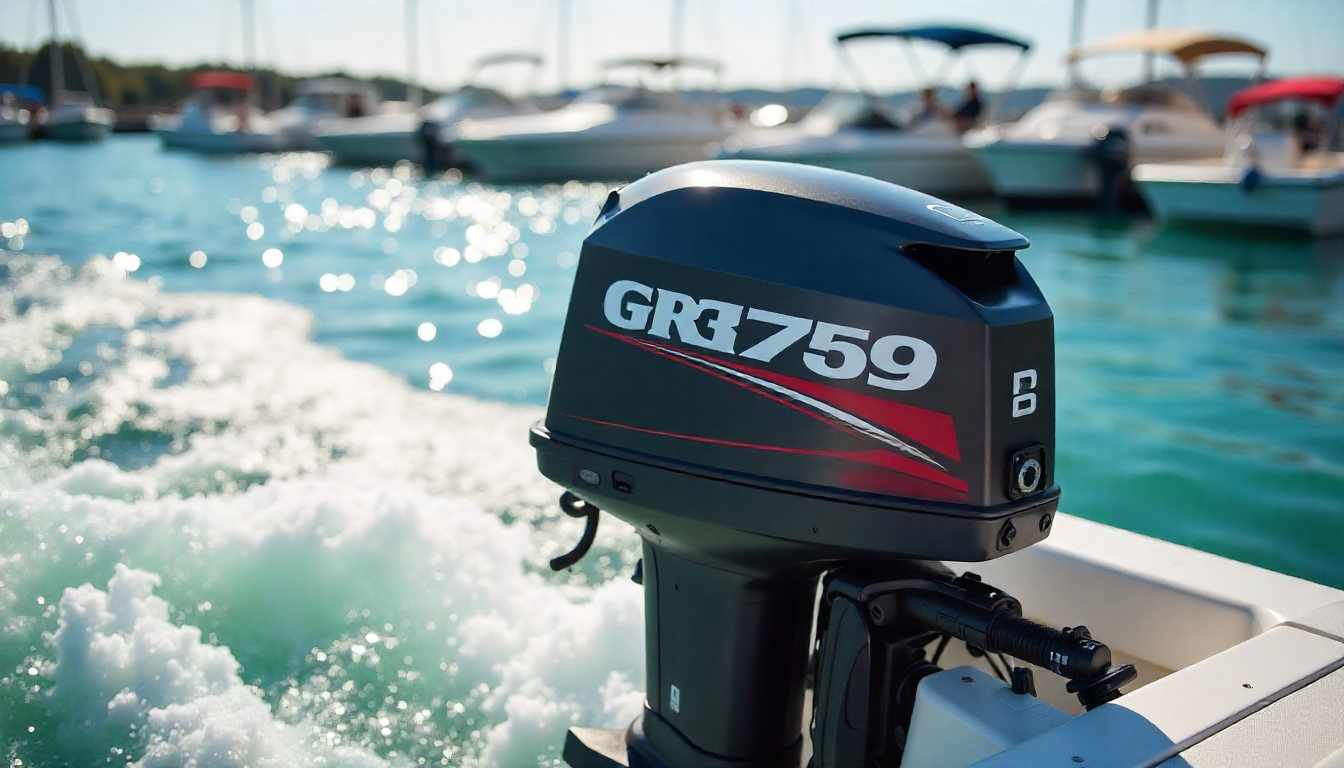
Maintaining your boat’s engine is essential, and knowing how to use an outboard motor flusher can extend its life. This tool helps remove salt, debris, and contaminants from the cooling passages, ensuring your motor runs efficiently after every use. Whether you operate in fresh water or saltwater, proper flushing is a key part of engine care.
Why Flushing Your Motor Matters
Boat engines constantly interact with water, which can carry minerals, sand, and salt. Over time, these materials can build up inside the cooling passages, restricting water flow and leading to overheating. Using an outboard motor flusher ensures that water is flowing freely and your engine remains clean inside. Without regular flushing, corrosion and blockages can cause costly repairs.
What Is an Outboard Motor Flusher?
An outboard motor flusher is a device designed to connect a garden hose to your outboard motor. It directs fresh water into the cooling system while the engine runs at idle. This flushing process removes salt crystals, mud, and other debris. Most models feature two rubber cups that fit over the water intake ports on the lower unit.
When to Flush Your Outboard Motor
It’s best to flush your motor after every use in saltwater. Even if you boat primarily in fresh water, flushing occasionally helps prevent mineral buildup. Many experts recommend making it part of your docking routine, especially if you notice reduced water flow from the telltale indicator.
Tools and Equipment You Will Need
Before starting the procedure, make sure you have the following:
- Outboard motor flusher (also called “ear muffs”)
- Garden hose with adjustable nozzle
- Access to fresh water supply
- Timer or watch
- Owner’s manual for your outboard motor
Step-by-Step Instructions for Using an Outboard Motor Flusher
Step 1: Prepare Your Boat and Engine
Place your boat on a trailer or in a secure dock position where the propeller is clear of obstacles. Make sure the motor is in a vertical position for proper water flow. Check your manual for any specific instructions related to your engine model.
Step 2: Attach the Outboard Motor Flusher
Slide the rubber cups of the flusher over the water intake ports on the lower unit. The connection should be snug to prevent leaks. Make sure the flusher is centered and aligned properly.
Step 3: Connect the Hose
Attach your garden hose to the flusher and tighten the connection. Ensure there are no kinks in the hose that could restrict water flow. A good seal is key for effective flushing.
Step 4: Start the Water Flow
Turn on the fresh water supply before starting the motor. This ensures the cooling passages are filled with water and prevents running the motor dry. You should see water flowing out of the telltale indicator.
Step 5: Start the Motor
With the water running, start your outboard motor and keep it at idle. Never rev the engine in neutral, as it’s designed for low RPM when flushing. Let the motor run for about 5–10 minutes.
Step 6: Monitor the Flushing Process
Watch for a steady stream from the telltale outlet. This confirms the cooling passages are clear and water is circulating properly. If water flow is weak or absent, shut off the motor and check for blockages.
Step 7: Shut Down and Disconnect
After the flushing process is complete, turn off the motor first, then the water supply. Remove the flusher and hose connection. Allow the engine to drain before tilting it up for storage.
Common Mistakes to Avoid When Flushing
- Running the motor without water – Even a few seconds can damage the water pump.
- Improper flusher alignment – Misalignment reduces cleaning effectiveness.
- Too short flushing time – Less than 5 minutes may leave debris in the passages.
Additional Tips for Effective Flushing
- Always use fresh water, even if boating in lakes, to avoid mineral buildup.
- Check the rubber cups on your flusher for wear; damaged cups can cause leaks.
- Follow the manufacturer’s recommendations for your specific motor model.
Outboard Motor Flusher vs. Built-In Flush Port
Some newer outboard motors include a built-in flush port, allowing you to connect a hose directly without running the engine. While convenient, using an outboard motor flusher with the engine running can be more thorough because it simulates real operating conditions.
Maintenance After Flushing
Once the flush is done, inspect the lower unit for any weeds or fishing line. Check the propeller for damage and ensure the water intake screens are clean. This quick inspection after every use helps spot problems early.
Why Fresh Water Is Essential
Using fresh water prevents salt and mineral deposits from solidifying inside the motor. Saltwater, in particular, accelerates corrosion. Consistent flushing with clean water keeps cooling passages clear and extends the life of seals, gaskets, and other critical parts.
The Role of Cooling Passages
Cooling passages carry water through the engine block to regulate temperature. Blocked passages can cause overheating, leading to engine failure. Flushing ensures these areas remain free of sediment and salt.
常见问题
1. How often should I flush my outboard motor?
After every use in saltwater and periodically in fresh water.
2. Can I flush my motor while the boat is in the water?
Yes, if your motor has a built-in flush port, but for a full cleaning, a flusher is preferred.
3. How long should the flushing process last?
Between 5 and 10 minutes, depending on the manufacturer’s guidelines.
结论
Learning how to use an outboard motor flusher is a simple but vital skill for boat owners. By making it part of your regular maintenance routine, you protect your motor from corrosion, improve performance, and save money on repairs. The process requires minimal equipment and only a few minutes, yet it plays a key role in keeping your engine reliable for years.

 How to Use an Outboard Motor Flusher – Step-by-Step Instructions">
