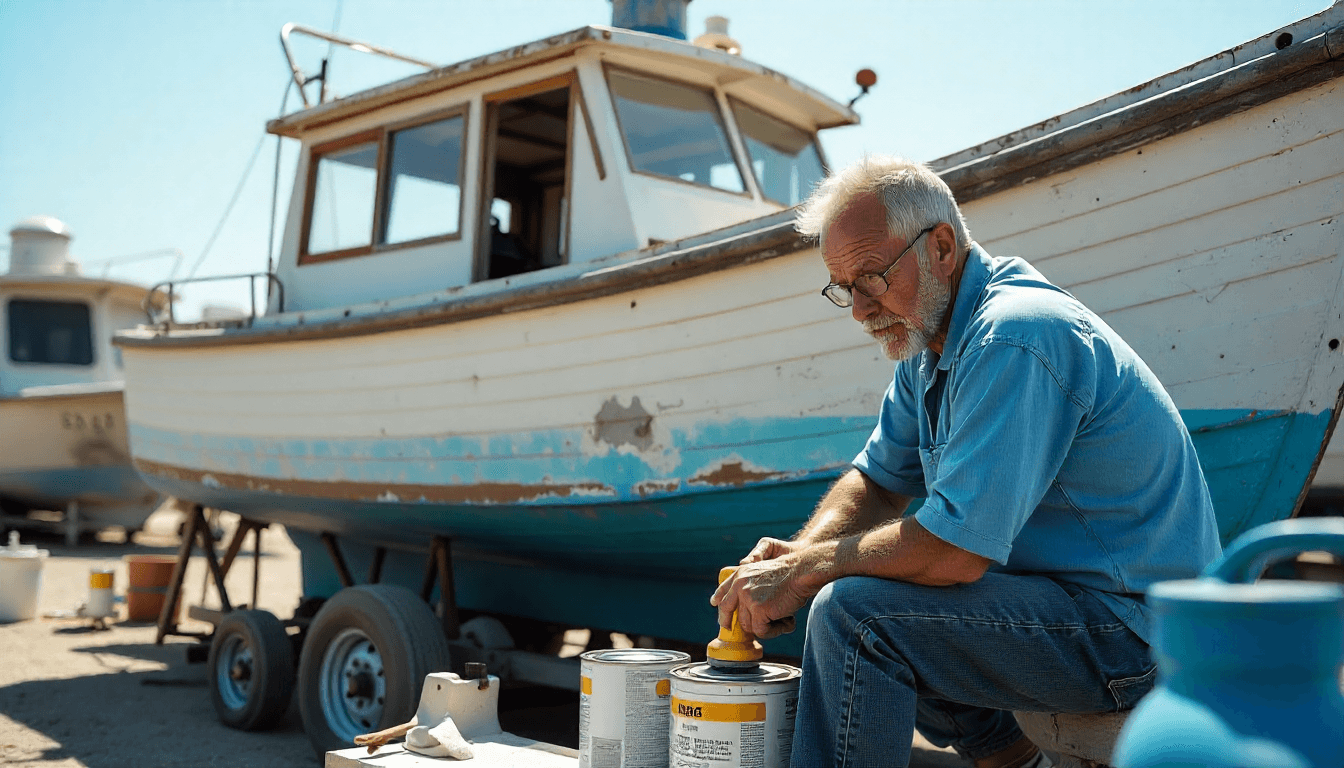
How to Paint an Aluminum Boat: Step-by-Step Painting Guide
Introduction
If you’ve ever wondered how to paint an aluminum boat, you’re not alone. Many boat owners want a fresh finish that looks professional and withstands years of use on the water. Painting a vessel requires patience, the right products, and careful preparation. With the right paint and primer, your project can deliver a durable coating that protects against corrosion and gives your craft a polished appearance.
Why Learn How to Paint an Aluminum Boat
Owning a vessel made of aluminum has its advantages—lightweight durability, low maintenance, and resistance to rust. However, after years of exposure to water, sun, and wear, the surface often looks faded. Learning how to paint an aluminum boat ensures you protect its hull, extend its lifespan, and improve its appearance. A good paint job also raises resale value and prevents structural damage.
Transitioning from bare aluminum to a fresh finish is a lot of work, but the result looks like a factory coating. Whether it’s your first time taking on such a task or you’ve done it years ago, this guide will walk you through every step.
📚 You may also like
Preparing the Surface Before You Paint an Aluminum Boat
Cleaning and Sanding
The first stage is removing dirt, grease, and oxidation. Wash the boat thoroughly with soap and water, scrubbing well along the water line. Allow it to dry completely before sanding. Bare aluminum requires abrasion so the primer and paint adhere properly. Use 80- to 120-grit sandpaper to scuff the surface evenly.
If you’re painting aluminum boats that have been in service for years, this step may take extra time. Spend as long as necessary here—proper prep determines whether the paint job lasts.
Stripping Old Paint and Primer
If your boat has layers of old industrial paint, stripping them is essential. A chemical stripper or a sanding tool works. Wear protective gear to avoid exposure. Removing existing coats reveals the bare metal, giving you a clean foundation for a new finish.
Applying Solvent Wipe
After sanding, wipe the hull with a solvent like acetone. This removes remaining dust and grease. Make sure the surface dries fully before moving forward.
Choosing the Right Paint and Primer for Aluminum
Why Primer Matters
Aluminum needs a special primer before you apply top coats. Self etching primer is commonly used because it bonds to bare aluminum and prevents corrosion. Without this base layer, paint comes off quickly.
For best results, apply two layers of primer. Each coat should dry before applying the next. We recommend using marine-grade primer designed for aluminum boats.
Selecting Marine Paint
Your paint supplier can help you choose marine paint suitable for both topsides and painting the bottom. High quality epoxy or polyurethane paints offer durability and gloss. Many owners who decided to use a roll and tip method report a professional-looking finish.
Step-by-Step Process on How to Paint an Aluminum Boat
Step 1: Masking
Tape off areas you don’t want coated, including hardware, rub rails, or parts above the water line. This makes cleanup easier later.
Step 2: Applying Primer
Spray or roll on the first coat of primer evenly. Once dry, lightly sand to smooth imperfections. Apply a second coat for full coverage. This process prepares the surface for your top coat.
Step 3: Painting the Bottom of the Hull
When painting the bottom, use marine paints designed to resist algae and barnacle growth. Many boat owners paint the bottom differently from topsides, often choosing anti-fouling coatings. If you have painted bottom areas before, you’ll know that careful layering ensures durability.
Step 4: Applying Paint Layers
Apply your first coat of paint evenly using a sprayer, roller, or the roll and tip method. After drying, sand lightly before adding the next layer. A total boat project may require two to three coats, depending on coverage.
Step 5: Adding the Top Coat
The final top coat provides shine and long-term protection. Apply it with even strokes, ensuring you cover every section. Some owners prefer spray guns for this step because they deliver a smooth finish. Others roll and tip for controlled application.
Tips for Better Results
Work in Proper Conditions
Avoid painting on humid, windy, or rainy days. Ideal temperatures are between 60°F and 85°F. Weather affects how well primer and paint cure.
Use the Right Equipment
A spray gun gives a professional result, though rollers and brushes work for smaller jobs. Always apply thin, even layers.
Safety First
Wear a respirator, gloves, and goggles when working with paint and primer. Solvents and paints contain chemicals that should not be inhaled.
Common Mistakes When Painting Aluminum Boats
- Skipping Primer – Without primer, paint peels fast.
- Poor Prep – Not sanding enough reduces adhesion.
- Applying Thick Coats – Heavy coats crack easily.
- Not Letting Layers Dry – Rushing the process leads to weak results.
Avoid these pitfalls, and your paint job will last for years.
How Long Will the Paint Last?
A properly painted aluminum boat can stay looking fresh for five to seven years with regular care. Keep the boat clean, touch up chips quickly, and store it properly during off-seasons. Regular maintenance ensures your hard work pays off.
Conclusion
Learning how to paint an aluminum boat is a rewarding project that makes your vessel look better and last longer. From prepping bare aluminum and applying self etching primer to finishing with a glossy top coat, every step matters. Even though it’s a lot of work, the outcome is worth the time. Whether you’re painting the bottom for protection or the topsides for shine, the right products and patience give you a really good result.
If you’ve decided to use marine paint and follow this step-by-step guide, your craft will not only look like new but also withstand the elements for years to come.