How to Refresh Your Boat Canopy Quickly
Alexandra
Most marina maintenance schedules allocate specific haul-out slots and secure trailer access for canopy removal; coordinating the transfer of panels to a canvas workshop usually requires booking a van or trailer, measuring rolled fabric dimensions, and allowing 48–72 hours for drying before transit to avoid mildew or salt damage.
Common canopy problems and quick logistics tips
Exposure to salt spray, UV and mechanical stress produces predictable failure modes: faded fabric, brittle or yellowed acrylic windows, jammed zips, corroded poppers and weakened bungee cords. Getting a repair done efficiently often means planning around the marina’s washing points, drying areas and a local canvas specialist’s lead time. If you run a charter or yacht rental, keep a spare panel or a patched canopy to avoid downtime between bookings.
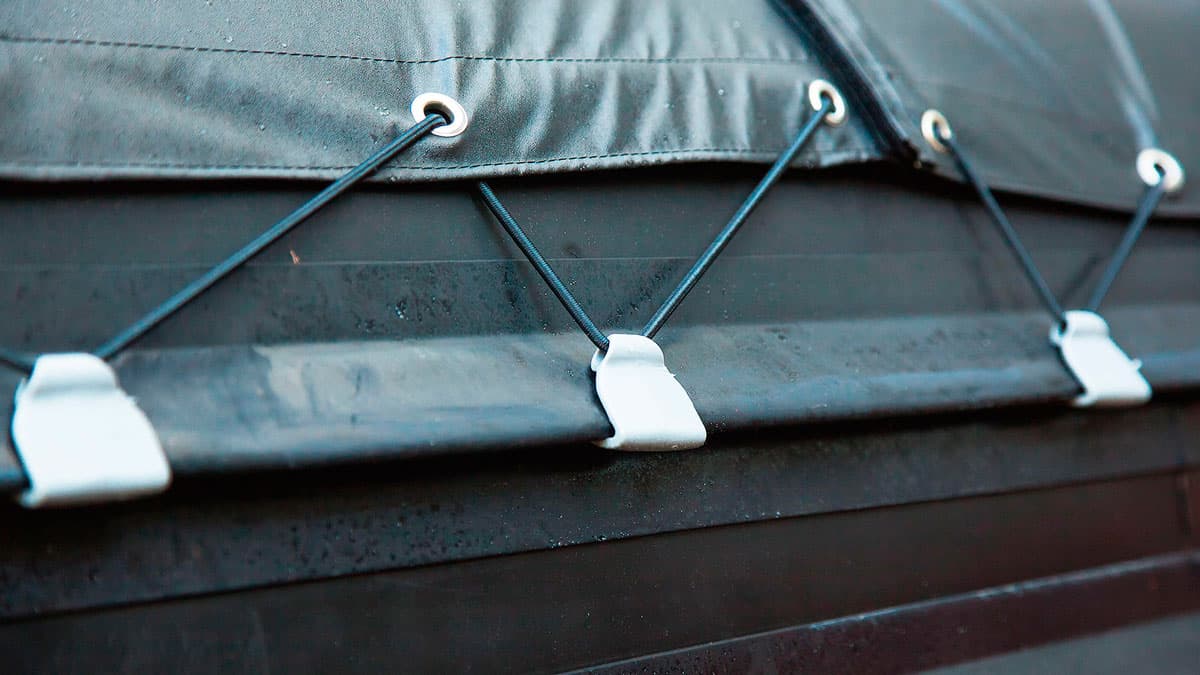
Freeing jammed zips and studs
Salt and corrosion are the usual culprits when zips and poppers stick. Use hot freshwater rinses to dissolve salt crystals and allow fittings to dry fully before applying products. Avoid WD‑40 on fabric — it can stain. Marine silicone sprays are preferred for lubricating popper springs and zip teeth.
📚 Você também pode gostar
- Rinse with hot freshwater, focusing on stud and zip channels.
- Gently lever stubborn poppers free with a flat tool to avoid tearing the fabric.
- When dry, apply marine silicone spray and work the mechanism several times.
- Replace badly corroded poppers or clips — they’re inexpensive and simple to swap.
Step-by-step: freeing a jammed zip
- Flush the zip with hot water and dry with a clean towel.
- Inspect for missing or broken teeth; if present, plan for replacement.
- Apply marine-grade zipper lubricant along the teeth and work the slider.
- Repeat lubrication throughout the season to prevent recurrence.
Cleaning and removing biological or rust stains
Regular cleaning is essential. Use a mild soap or specialist cleaner suitable for canvas; Renovo products (popular in convertible car care) work well on marine canvas. Warm water, a soft brush and patience pay off — leave the cleaner to work for several minutes, scrub from top to bottom, then rinse thoroughly with freshwater.
Rust marks and frame contact
Rust stains often result from window or canvas sitting tightly against the stainless steel frame, impeding oxygen and triggering localised corrosion. Solutions range from temporary pipe lagging to bespoke colour‑matched fabric spacers that keep the canvas away from the metal and improve aesthetics.
Replacing windows and textile panels
A cracked or irrevocably yellowed window is a common reason owners contemplate a full canopy swap. However, window replacement is a practical DIY or workshop job if approached carefully. Keep the old window in place for support until the new panel is fitted.
| Issue | Symptom | DIY Difficulty | Typical Time |
|---|---|---|---|
| Fogged acrylic | Cloudiness, micro-scratches | Medium | 1–2 hours (per panel) |
| Ripped window | Open seam or tear | High | 2–6 hours (with machine) |
| Jammed poppers/zips | Hard to open/close | Low | 15–60 minutes |
| Faded canvas | Uneven colour, tired look | Low–Medium | 1–3 hours (plus drying) |
How to fit a new window
Trim the replacement acrylic slightly oversized, use double‑sided tape along the aperture, stick the new window while keeping it taut, then sew a UV‑resistant thread from the exterior seam inward. Keep a small access cut in the old window to remove material from the rear without stressing the new insert. A silicone lubricant on the needle reduces catching when sewing through heavy panels.
Fabric repairs, colour restoration and reproofing
Small tears are usually reparable with a robust sewing machine or hand stitching; colour mismatches can be concealed with a paint‑based dye designed for canvas. Renovo’s Boat Canvas Reviver is formulated to restore faded canvas to darker shades and will dye threads and trims while slightly stiffening the material — good for extending life, not reversing a dark to light fade.
Reproofing
Stitch deterioration can allow leaks. A simple brush‑on reproofing solution dries to a flexible film, sealing needle holes and making the canopy watertight again. Reproof every six months, especially after restorative cleaning or dyeing.
When replacement is the best option
If multiple windows are brittle, seams are heavily degraded, or you’ve changed the hull colour scheme, commissioning a new canopy may be the right call. Custom options — extra vents, reinforced framing or different zips — can be specified. For charter operators or yacht owners, factor in lead times and marina haul‑out logistics to avoid service interruptions.
Practical checklist before sending panels to a workshop
- Measure panels and roll fabric dry to check transport dimensions.
- Book haul‑out and van/trailer time with the marina.
- Photograph damaged areas for the canvas shop.
- Pack panels in breathable covers to prevent condensation.
Summary: Address jammed zips, corroded poppers and bungee failures quickly with hot rinses, marine silicone and inexpensive part swaps; clean with specialist products like Renovo, and tackle window replacement by supporting the old panel while fitting the new acrylic with double‑sided tape and UV‑resistant stitching. Recolour faded canvas with paint‑based dyes and reproof seams every six months. For charter fleets, captains and yacht owners, planning haul‑out, transport and workshop bookings is as important as the repair itself to keep boats available for rent and sale. Whether you run a superyacht or a small boat for lake or gulf rentals, these steps will extend canopy life and protect time on the sea, ocean, beach and marinas while keeping passengers happy with clear windows for fishing and yachting activities.