How to Install Dock Posts in Water: Step-by-Step DIY Guide
Alexandra
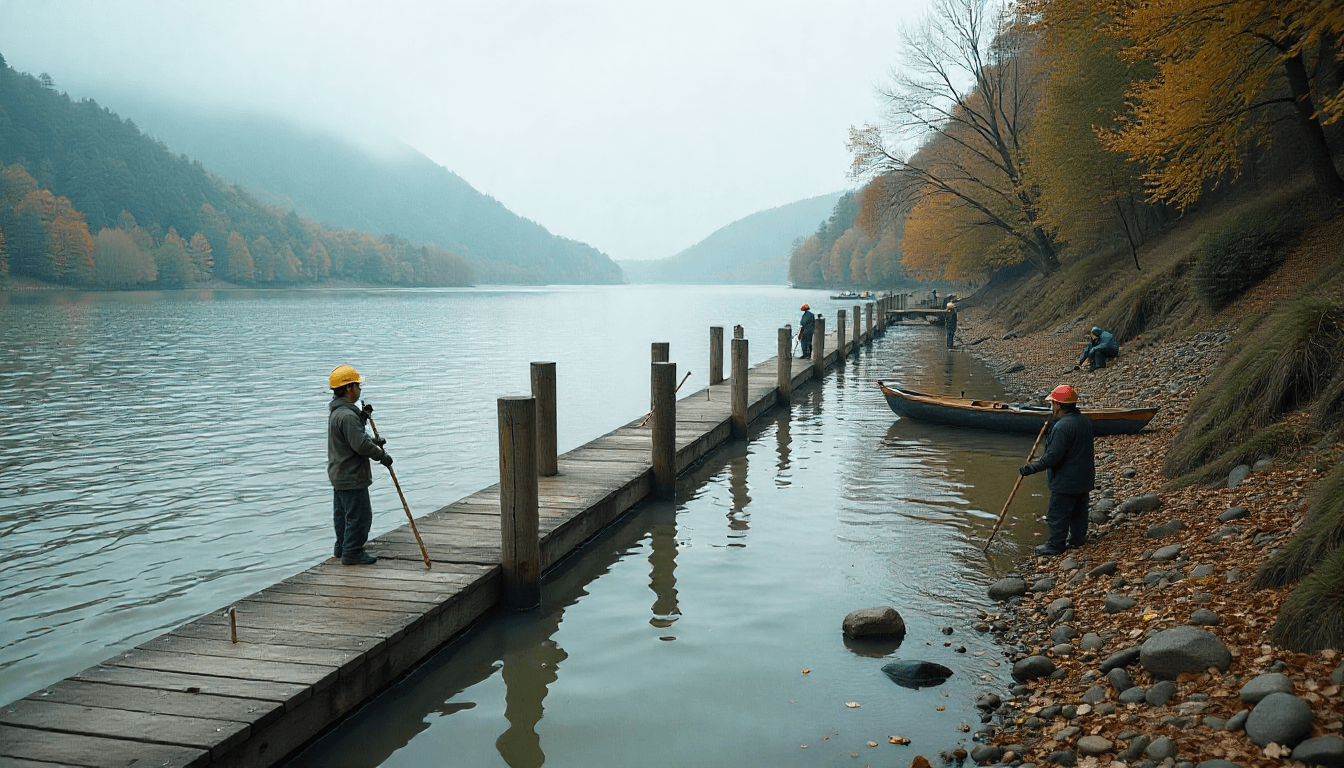
Building a strong and reliable dock requires a solid foundation, and the most important part of that process is learning how to install dock posts in water. This task might seem overwhelming at first, but with the right tools, planning, and techniques, you’ll be able to create a long-lasting structure that can handle waves, shifting sediment, and heavy use. Whether you’re working on a pond, lake, or river, installing posts in the water is a skill every dock owner needs.
Why Installing Dock Posts in Water Matters
The strength and durability of your dock depend heavily on how well the posts and pilings are installed. Without a stable base, even the best deck boards or hardware won’t hold up against changing water levels and shifting ground. Proper installation ensures that the dock stays level, resists movement, and provides safety for anyone who uses it.
A poorly secured dock may start to tilt or wobble within just a season or two. On the other hand, if you drive pilings deep enough and brace them correctly, the dock can last for decades with minimal maintenance.
📚 You may also like
Planning Before You Install Dock Posts in Water
Before you begin, you need to consider permits, materials, and environmental conditions. Many areas require that you check with local authorities to see if you need a permit before installing a dock. Regulations often protect waterways, fish habitats, and shorelines.
Other factors to plan include:
- Water depth: Measure carefully, since shallow ponds may only need shorter pilings, while deeper lakes require longer ones.
- Bottom conditions: Sand, mud, or rock all affect how you drive the pilings. A jet of water works well in sandy bottoms, while rocky areas may require more specialized tools.
- Dock type: Decide if you’re building a floating dock, fixed pier, or round dock. Each requires slightly different construction methods.
Tools and Materials You’ll Need
When you’re ready to install posts, gather the following supplies:
- Pressure treated wood posts or pilings (usually 6x6 or round poles)
- PVC pipe for jetting
- Post hole digger for shallow work near the shoreline
- Powered water pumps or a pressure washer for jetting
- Cross brace materials (treated lumber or galvanized steel)
- Concrete or gravel for additional stability
- Basic hardware (lag bolts, brackets, rebar for reinforcement)
Having everything ready in advance will save time and keep the process smoother.
Step 1: Marking and Measuring the Dock Layout
First, decide on the shape and size of the dock. A straight pier is easier, but some people prefer a round dock or a U-shape for boats. Mark out the positions where each post will go. Typically, posts are spaced about 8 to 10 ft apart.
Use stakes and string lines from shore to mark your layout. Double-check your measurements so that once you’re in the water, you won’t waste time repositioning.
Step 2: Driving the Pilings into Place
The most reliable way to sink the pilings is to drive the pilings deep into the bottom of the water. You can use a driver or rely on a water jetting system to help them go down more easily.
- Jetting method: Insert a PVC pipe next to the piling and use a water pump to force a jet of water underneath. This loosens sand and mud, allowing the piling to sink deeper.
- Manual method: In shallow areas, you may be able to use a post hole digger or even dig by hand before lowering the post.
You’ll usually need a partner to help drive the pilings and keep them vertical as they sink. Continue until each piling is deep enough to resist movement, typically at least one-third of its length below the bottom.
Step 3: Setting the Posts in the Water
Once the pilings are in place, it’s time to set the posts in the water to the proper height. The top of each post should align with the string line you measured earlier. Cut each post to the correct height, remembering that the dock surface should sit above the water line, even during high-water seasons.
Sometimes builders pour concrete around the base of the posts for extra strength, especially in sandy bottoms. However, in many pond or lake settings, simply jetting them deep and bracing them well is enough.
Step 4: Adding Cross Bracing
Cross bracing is crucial for stability. Without it, pilings may lean over time due to waves, ice, or strong winds. Install cross braces between posts at an angle, forming an “X” shape. Pressure treated wood works well, but galvanized steel also provides excellent reinforcement.
Not only does bracing hold the dock steady, but it also reduces movement when people walk on it.
Step 5: Attaching Beams and Decking
Once your posts are set and braced, it’s time to attach beams along the tops of the posts. Use galvanized bolts or heavy-duty brackets to secure them.
After the beams are in place, lay down decking boards perpendicular to them. Pressure treated boards are common, but composite materials also work well if you want lower maintenance. Make sure each board is spaced slightly apart to allow for drainage and expansion.
Step 6: Final Adjustments and Safety Checks
Walk along the dock and test for movement. If you notice any wobbling, add additional cross braces or recheck the depth of your pilings.
Consider adding bumpers, cleats, or ladders depending on whether you plan to dock boats or use the structure for swimming.
At this stage, you’ll be able to see how solid your structure feels. Remember that docks are exposed to changing conditions, so maintenance is part of ownership.
Expert Tips for a Stronger Dock
- Use PVC pipe for jetting because it’s lightweight, inexpensive, and easy to maneuver.
- Cut posts a little longer than needed and trim them once in place for a perfect level surface.
- If you hit large rocks while driving, try repositioning slightly. Sometimes moving a piling just a few inches makes all the difference.
- In areas with ice, sink the pilings deeper to resist upward movement during freezing and thawing.
- Pour concrete around pilings if the bottom is especially soft or muddy.
Common Challenges When You Install Dock Posts in Water
- Uneven bottoms: Mud and sand shift over time, so posts may settle. Cross bracing helps reduce this.
- Rocky bottoms: Hard bottoms make it tough to drive pilings, sometimes requiring drilling or anchoring with steel.
- Water depth: Shallow water is easier, but in depths over 10 ft, you may need specialized equipment or a floating platform to work from.
How Long Should Dock Pilings Last?
Well-installed pilings can last decades if they’re made from pressure treated wood and properly sunk. PVC pipe sleeves can also extend their life by protecting against rot and marine organisms.
Regular inspections will help spot issues early, like rot at the water line or movement at the base.
Environmental Considerations
Whenever you install posts in water, think about how your work affects the environment. Avoid chemicals that may leach into ponds or lakes. Use pressure treated lumber rated for water contact and dispose of waste properly.
In some regions, floating docks may be encouraged because they disturb the bottom less. However, pilings remain the strongest choice for long-term stability.
Conclusion
Learning how to install dock posts in water takes planning, patience, and the right tools, but it’s an achievable DIY project. With PVC pipe for jetting, a post hole digger for shallow work, and the determination to drive the pilings deep, you can build a safe and reliable dock that will last for years.
By following this step-by-step guide, you’ll be able to install posts confidently, whether you’re building on a quiet pond or a busy lake. With careful measuring, proper bracing, and good materials, your dock will stand firm against waves, weather, and time.