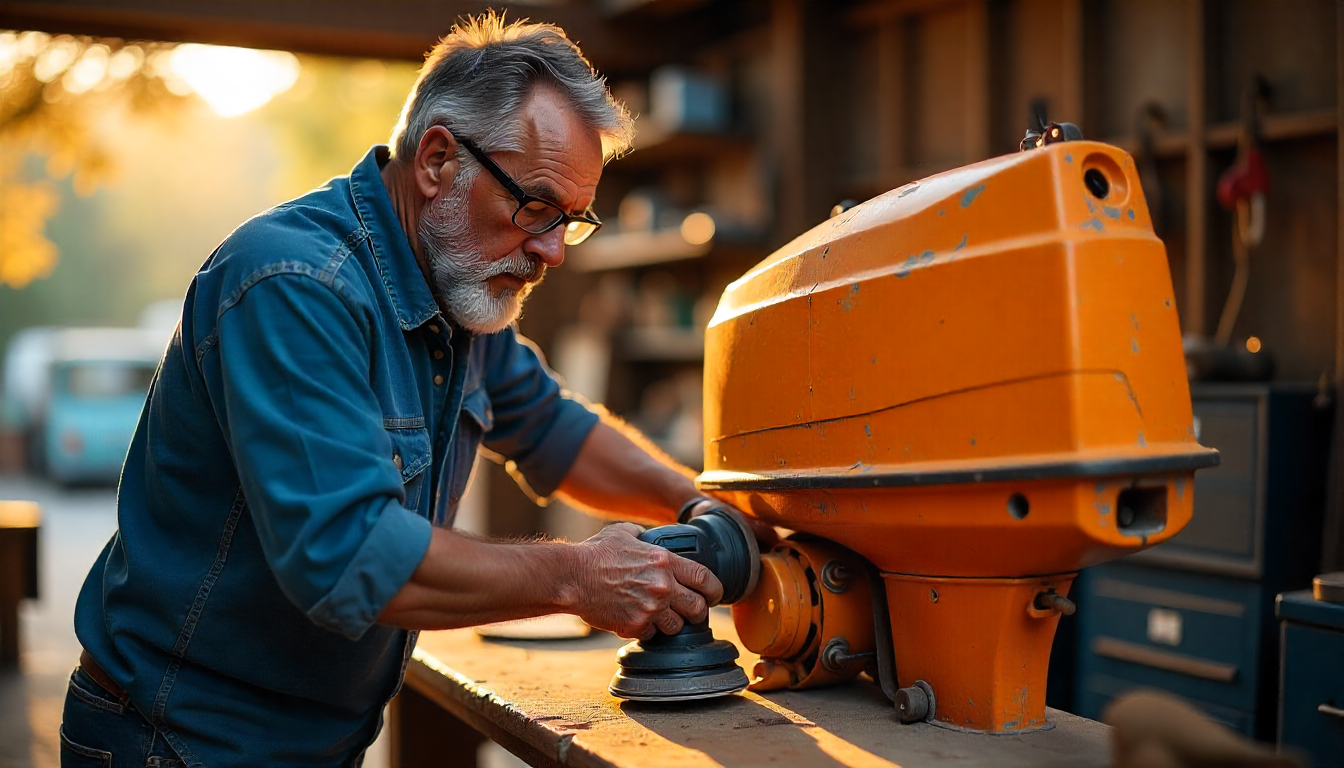
When your engine starts looking weathered and dull, knowing how to paint an outboard motor can make it look brand new again while also adding a protective layer against harsh marine conditions. This guide walks you through the complete process, from stripping and cleaning to applying the final coat, so you can achieve a professional-grade paint job at home.
Why Painting Your Outboard Motor Matters
An outboard spends most of its life exposed to saltwater spray, sunlight, and constant temperature changes. Over time, this exposure can cause the finish to fade, peel, or corrode. By taking the time to paint an outboard, you not only restore its appearance but also protect its surfaces from further damage.
Tools and Materials You’ll Need
Before you begin, gather all the necessary tools and materials. Having everything ready ensures the job flows smoothly.
- Spray cans of marine-grade paint
- Zinc phosphate primer
- Grit sandpaper (220 grit and 400 grit)
- Grit wet sandpaper for final smoothing
- Heat gun
- Masking tape
- Dish detergent
- Degreaser
- Puhtaita riepuja
- Protective gloves and eyewear
Visit your local marine supply store to find paints and primers specifically designed for saltwater environments.
Step 1: Remove the Outboard and Disassemble Parts
Start by disconnecting the outboard from the boat and placing it on a stable stand. Remove the cowl, lower unit, and other detachable parts. This makes it easier to paint the parts separately for better coverage. Keep screws and small components organized in labeled bags so you can reassemble without frustration.
Step 2: Clean and Degrease Thoroughly
Grease, oil, and salt residue must be removed before sanding. Wash all surfaces with a mixture of dish detergent and water, scrubbing gently to remove grime. Rinse thoroughly and let the outboard dry completely. If stubborn grease remains, apply a degreaser and wipe clean.
Step 3: Sand to Bare Metal Where Necessary
Use 220 grit sandpaper to remove peeling paint and roughen smooth surfaces. For areas with corrosion, sand down to bare aluminum to ensure adhesion. Where possible, lightly sand factory coatings that are still intact so the new primer will grip properly.
For the most stubborn spots, a heat gun can soften old paint, making it easier to remove without damaging the metal beneath. Move the heat gun evenly to avoid overheating one spot.
Step 4: Apply the Zinc Phosphate Primer
Once the surface is prepped, apply a zinc phosphate primer to protect against corrosion. Shake the can well and spray in thin, even passes. Avoid drips by keeping the nozzle about 8–10 inches away. Let the first coat dry as per the manufacturer’s instructions, then lightly sand with 400 grit sandpaper before applying a second coat. Zinc phosphate primer creates a chemical bond that helps the paint adhere and last longer in marine environments.
Step 5: Mask Off Areas You Don’t Want to Paint
Use masking tape to protect decals, trim, and moving parts. Be thorough—overspray is frustrating to remove later. Double-check that the masking is tight around edges to keep paint lines clean.
Step 6: Painting the Outboard Motor
With the primer cured, you can start painting. Choose marine-grade spray paints designed for aluminum and saltwater exposure. Shake each can for at least two minutes before spraying. Hold the can 8–12 inches away from the surface and use light, overlapping strokes.
It’s better to apply multiple thin coats than one thick coat to prevent runs. For the best results, allow at least two coats, with proper drying time between each. This builds an even, durable finish.
If you’re working outdoors, pick a calm day to prevent dust and debris from sticking to fresh paint. Avoid painting in direct sunlight, as heat can cause the paint to dry too quickly and crack.
Step 7: Curing and Finishing
After applying the final coat, let the outboard motor cure for at least 24 hours before handling. Once the paint is fully dry, you can add a clear coat for extra shine and protection. This is optional but recommended if you want your paint job to last several seasons.
If you notice any imperfections, lightly sand with grit wet sandpaper and reapply a thin coat to blend the area.
Step 8: Reassemble and Inspect
Once the paint is fully cured, carefully remove the masking tape and reassemble the outboard motor. Take care not to scratch the new surface. Inspect the finish for uniform coverage and touch up any small areas if needed.
Tips for a Professional Finish
- Work in a dust-free, well-ventilated area.
- Keep the spray cans moving to avoid paint build-up.
- Wear protective gear to avoid inhaling fumes.
- Follow the manufacturer’s instructions for drying times.
- Store leftover paint for future touch-ups.
Common Mistakes to Avoid
Many DIY painters rush the preparation process, leading to peeling or bubbling later. Skipping primer or using the wrong type of paint can drastically shorten the life of the finish. Also, applying thick coats can cause drips and uneven surfaces.
How Long Will It Last?
A properly prepared and painted outboard can look great for several years. Regular washing and occasional waxing help maintain the finish. If you notice chips, touch them up quickly to prevent corrosion from spreading.
Lopulliset ajatukset
Learning how to paint an outboard motor is a valuable skill for any boat owner. With patience, the right materials, and attention to detail, you can achieve a finish that rivals professional work—while saving money and taking pride in your craftsmanship.
Whether you’re restoring an old engine or simply refreshing your current one, following these steps will give your outboard a new lease on life and protect it from the elements for many seasons ahead.

 How to Paint an Outboard Motor – Step-by-Step DIY Painting Guide">
