How to winterize a boat
Introduction
Learning how to winterize a boat ensures that owners protect their vessels during cold months and avoid expensive repairs when the season changes. Winterizing a boat prepares essential systems for freezing temperatures, prevents costly repairs caused by water expansion, and extends the overall lifespan of the vessel. Many owners misunderstand the process and focus only on visible components, overlooking critical systems such as engines, plumbing, and the cooling system. Following a structured approach prevents mistakes and keeps equipment in reliable condition after long periods of storage.
This guide explains how to winterize a boat through practical steps that focus on the engine, fuel system, batteries, interior, and hull. By understanding common mistakes and knowing when to seek professional help, owners gain confidence and maintain their vessels more effectively. Winterizing your boat becomes easier when each component is addressed methodically.
Preparing the engine and fuel system
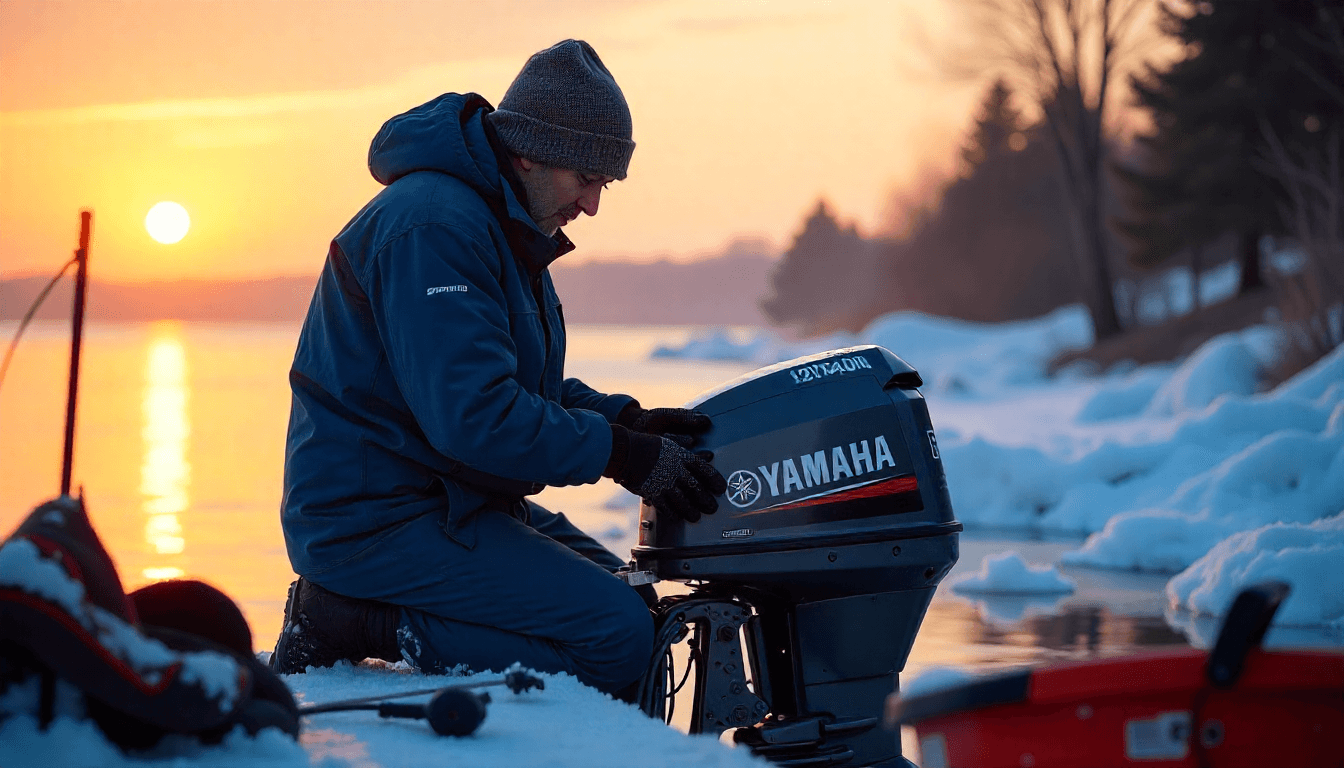
Draining and protecting the cooling system
One of the first tasks in winterizing a boat involves evaluating the cooling system. Engines that rely on raw water must be drained fully to prevent freezing. Water trapped inside hoses or engine blocks expands during low temperatures, causing cracks that lead to expensive repairs. Owners should open all drain plugs, run antifreeze through the system if recommended, and ensure that water exits completely.
📚 You may also like
Inboard or outboard motors require different steps, and owners should follow manufacturer guidelines carefully. Many modern engines allow owners to flush the system quickly, while older designs need more attention. By completing this step early, owners ensure that the engine remains protected throughout winter conditions.
Stabilizing fuel and preparing internal components
Fuel left in the tank during storage can degrade, leading to clogged lines and poor engine performance in spring. Using a stabilizer prevents fuel separation and helps maintain engine readiness. Owners should fill the tank to reduce condensation before adding stabilizer. After treatment, running the engine briefly circulates treated fuel throughout the system.
Additional steps include lubricating internal components, fogging cylinders if necessary, and inspecting hoses for wear. These preventative measures extend engine life and minimize costly repairs. When combined with cooling system preparation, these actions ensure the engine is ready for long-term storage.
Electrical system and battery care
Securing battery performance
Removing the battery helps preserve its charge during cold months. Owners should disconnect cables, clean terminals, and store the battery in a dry, temperature-stable environment. Regularly checking voltage ensures the battery remains ready for spring use. Some owners choose smart chargers that maintain optimal charge levels without overloading the system.
Understanding basic electrical maintenance reduces the risk of equipment failure. Batteries stored improperly often lose capacity, leading to unexpected replacement costs. Keeping the electrical system clean and organized ensures a smoother start to the next season.
Protecting electronics and wiring
Winterizing your boat should also include care for onboard electronics. Removing removable devices and covering fixed units protects screens and internal components from moisture. Wiring should be inspected for wear and secured to prevent rodent damage during storage. Owners who store their vessels outdoors should ensure that a high quality cover prevents moisture from reaching sensitive equipment.
Careful preparation reduces the risk of corrosion or electrical faults. When spring arrives, these preventative steps help avoid troubleshooting delays and ensure smooth operation on the water.
Interior and hull preparation
Preventing moisture inside the cabin
Moisture accumulation causes mildew, odors, and material deterioration. Owners should clean the cabin thoroughly, remove cushions if possible, and ensure proper airflow. Using dehumidifiers or moisture-absorbing products helps maintain dry conditions inside the cabin. Ventilation prevents surfaces from becoming damp during long storage periods.
Cleaning surfaces removes organic residue that promotes mold growth. Addressing interior conditions ensures that the vessel remains comfortable and ready for use once warm weather returns.
Hull protection and final exterior steps
Cleaning the hull before storage removes algae, salt, and debris that deteriorate the surface over time. Applying wax helps protect exterior surfaces from winter weather. Owners should inspect the hull for small cracks or abrasions that may worsen during cold months. Attention to detail prevents long-term damage and reduces maintenance needs in spring.
A high quality cover protects the exterior from snow, ice, and debris. Covers should fit securely to prevent wind damage and keep water from pooling. By completing these final steps, owners ensure that the vessel remains protected even during harsh conditions.
Conclusion
Understanding how to winterize a boat allows owners to protect valuable equipment, avoid unnecessary repairs, and maintain long-term performance. Winterizing a boat includes preparing the engine, protecting the fuel system, managing batteries, caring for electronics, and securing the hull. By following a structured approach and addressing key components, owners ensure that their vessels remain in excellent condition throughout the winter season.